Last Updated on January 7, 2026
Wrapping holiday gifts has become a well-established seasonal ritual. However, the costs associated with this tradition can hit especially hard during a time of the year when there are already so many other expenses.
The cost of wrapping paper, gift bags, ribbons and bows really adds up! According to a 2019 study, on average, Americans spend $5 billion on gift wrap each year.
Fortunately, there are alternatives to store-bought wrapping papers and gift bags that are kinder to our wallets. Making your own gift wrap is an affordable option that gives gifts a personalized touch.
Why Eco-Friendly Gift Wrapping Is Important
Beyond saving money, making your own wrapping paper is a more sustainable choice too. Store-bought wrapping paper is often covered in dyes and glitter, which makes it non-recyclable. It’s estimated 2.6 billion pounds of wrapping paper is thrown away every year in just the US alone.
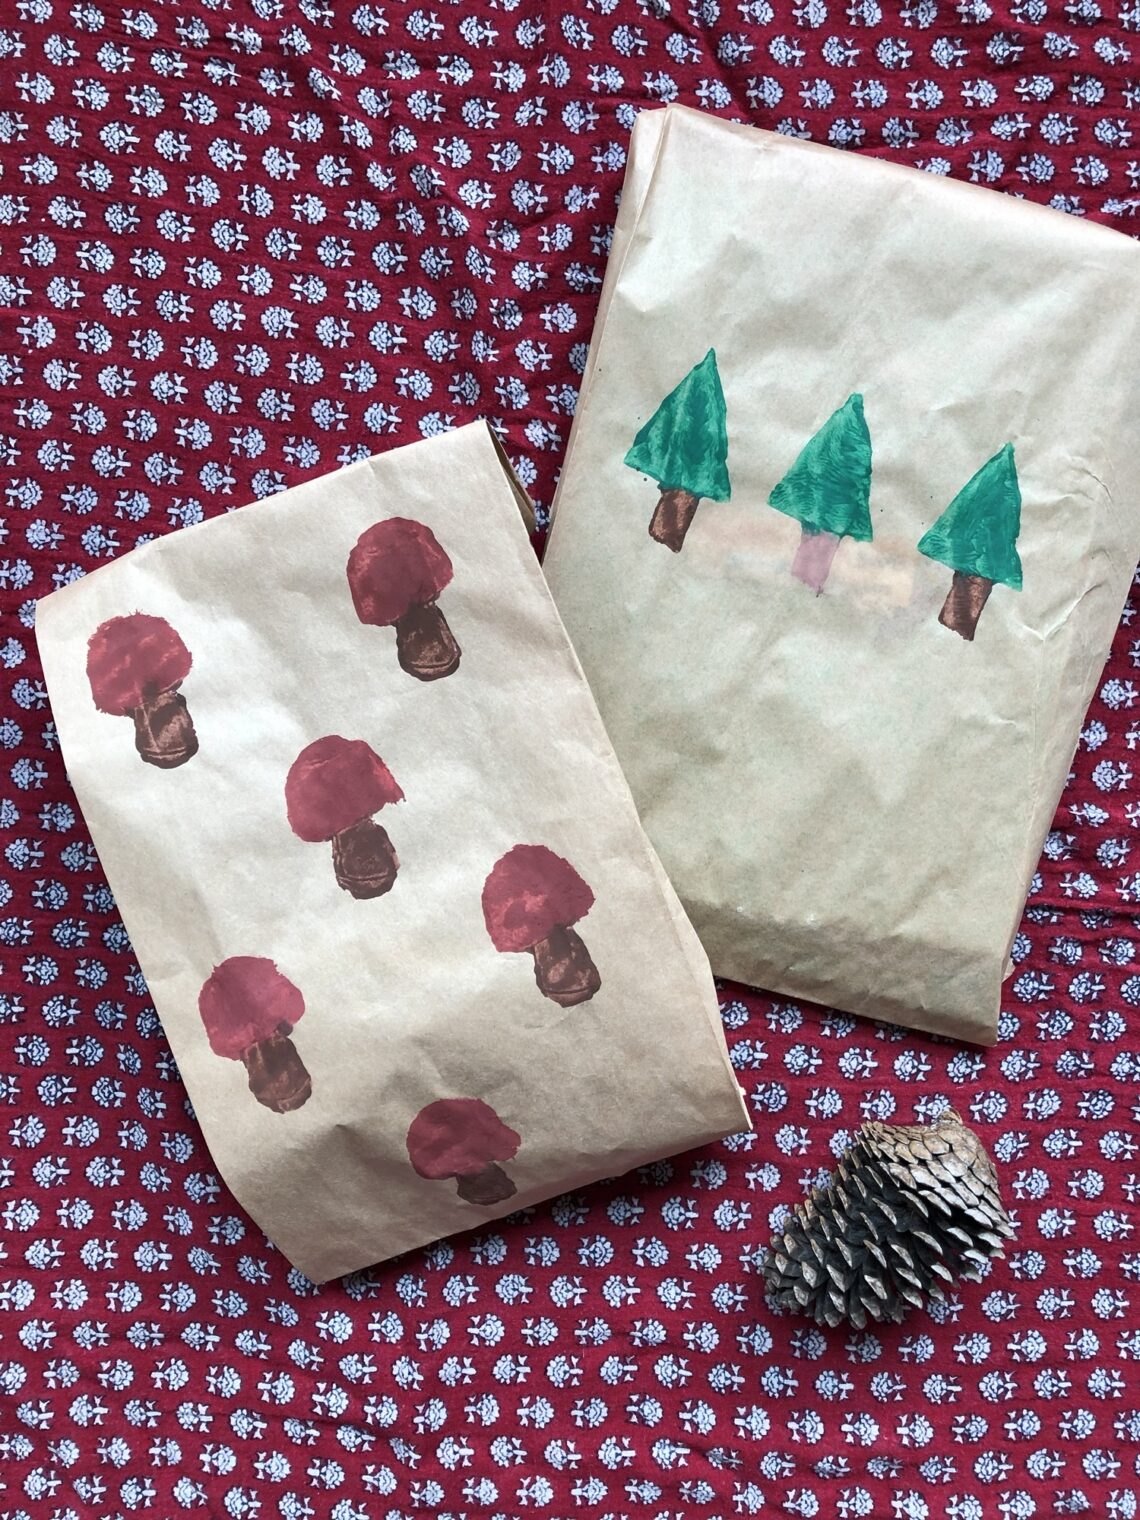
Making your own wrapping paper and gift bags with recycled brown paper gives your gifts a sustainable upgrade while reducing holiday waste.
For this project, I used acrylic paints because they’re what I had on hand. But, I think it’s important to note that acrylic paints aren’t the most sustainable choice. There are plenty of more natural, environmentally friendly alternatives that I’m exploring for future projects. Check out this post for a few ideas.
Another great option for eco-friendly gift wrapping is using cloth to wrap your presents. Not only does it look beautiful, but the cloth becomes part of the gift. You can get creative and use a pretty scarf or dish towels so that nothing goes to waste and every part of the wrap is useful long after the gift is opened.
Furoshiki is a traditional Japanese practice of wrapping gifts with cloth. Check out this post, Furoshiki: The Art of Sustainable Wrapping, for a tutorial,
The Joy of Homemade Gifting
Homemade gift wrap has the added bonus of making your presents feel even more thoughtful. Using hand-stamped wrapping paper adds a personalized touch and makes the gift extra special.
Making your own wrapping paper and gift bags is also a fun and creative holiday craft. Carving stamps, designing patterns, and experimenting with different colors is a hands-on activity that’s enjoyable for both kids and adults.
In this way, the process itself becomes part of what makes the holidays special. And giving a gift beautifully wrapped with handmade wrapping paper is just as special as picking out or making the gift inside.
For homemade gift ideas, check out my ebook, Homemade Herbal Gifts, featuring 20 beginner-friendly tutorials perfect for everyone on your list.

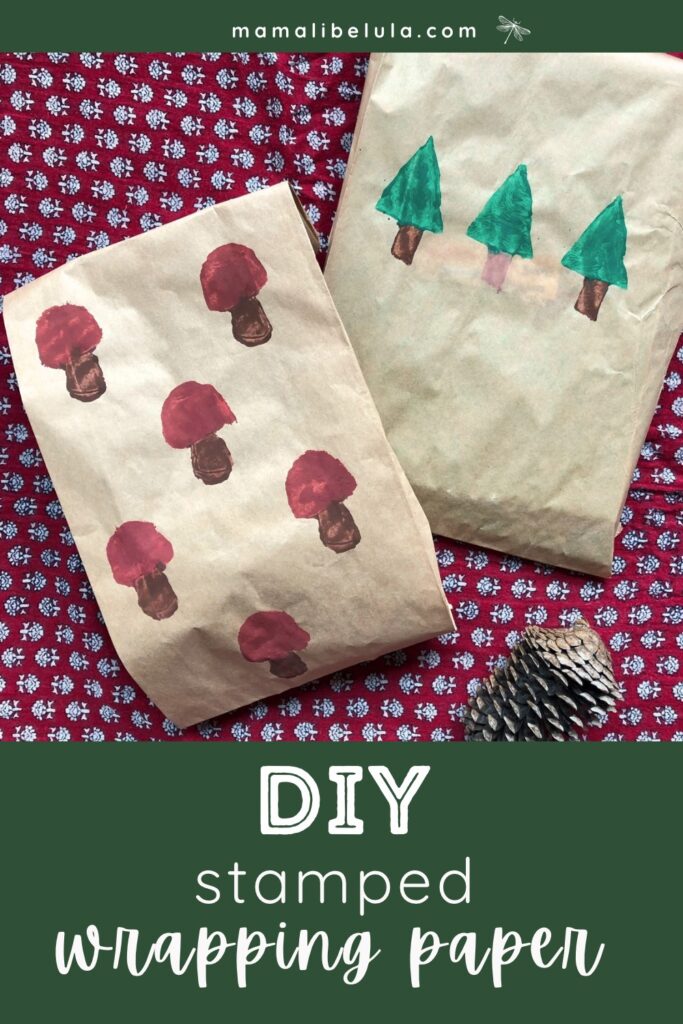
Making Potato Stamped Wrapping Paper
There are many ways to decorate your own wrapping paper. Using DIY potato stamps is one fun and easy option.
Carve simple, festive shapes into potatoes to create your own stamps that you can use to make a variety of decorated wrapping papers and gift bags. Potato stamping is simple enough for kids and is fun for adults too!
This simple project requires a few basic art supplies you may already have on hand, and of course, a couple of potatoes.
Materials You’ll Need
- Cheap plastic tablecloth or large piece of cardboard to protect workspace (optional)
- Old t-shirt(s) to protect clothing (optional )
- Large potato(es)
- Sharp knife
- Acrylic paints, in desired colors
- Small paint cups or plate
- Paint brushes
- Cup of water to rinse paint brushes
- Roll of brown paper or brown paper bags
How to Make Potato Stamped Wrapping Paper
1. Protect Your Clothing & Workspace
Before you begin, you’ll want to protect your clothing and workspace. This can be particularly important if you’re doing this activity with kids, but even adults can be prone to spills and drips when working with paints.
You may want to spread out a cheap plastic tablecloth or a large piece of cardboard to protect the surface you’re working on. Big, old t-shirts make great “paint shirts” for kids, or just have them wear clothing that you don’t mind getting a bit of paint on.
2. Carve the Stamps
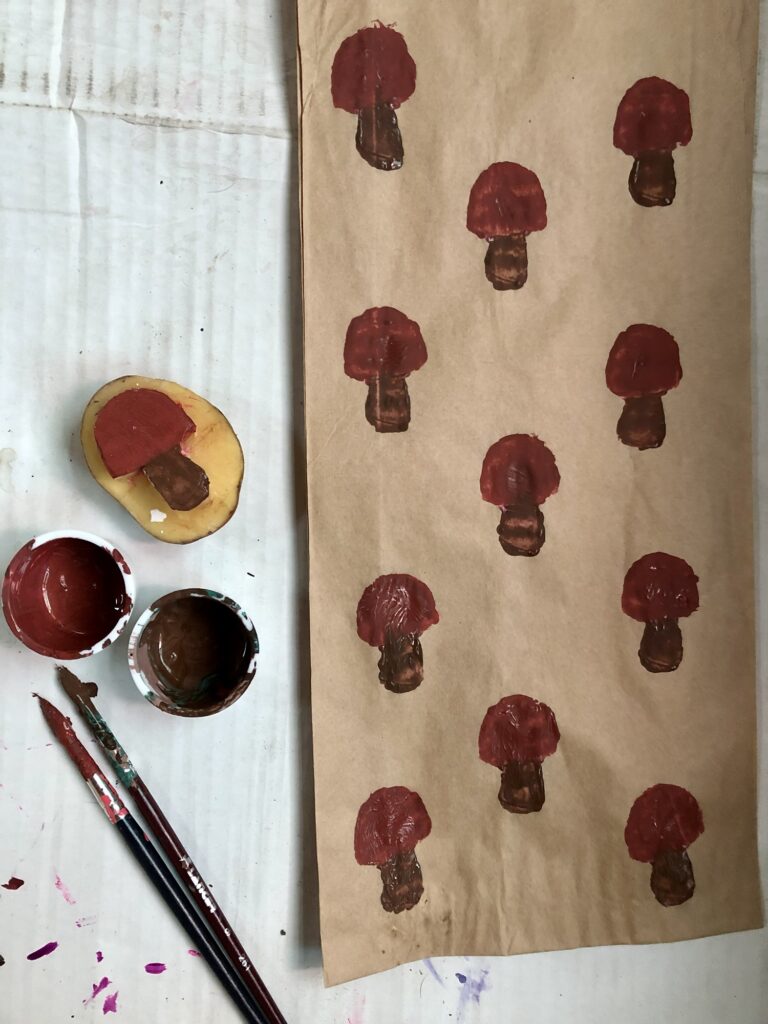
First, cut a large potato in half. Then use a sharp knife to gently trace a pattern of your desired shapes into each half. Stick with simple shapes, like mushrooms and pine trees. They are easier to carve and make the best prints.
Gently cut into the potato, about a ¼ inch or so deep, tracing around the outline of your desired shape. If you’re doing this activity with little ones, you’ll want to carve the stamps for them.
3. Apply Paint to the Stamps
Pour your desired colors of paint into small cups or onto a plate. Use a brush to apply a thin layer of paint onto your stamp. Too much paint will result in prints that are goopy and smeared, and too little paint will result in prints that are too light. You will quickly get a feel for how much paint to use.
You may want to do a couple test prints on scrap paper to practice before you start working on your wrapping paper and gift bags. You can also use a small brush to correct prints that don’t turn out exactly how you’d like.
4. Stamp Paper or Gift Bags
Now for the fun part! Press the paint covered stamp firmly onto the brown paper in one swift motion. Try not to wiggle or twist the stamp as you lift it up from the paper, as this can smear your print. Decorate pieces of brown paper or brown paper bags with your stamps as desired.
5. Let it Dry
Set aside your decorated brown paper to dry. Once fully dried, your homemade wrapping paper and gift bags are ready to use.
Homemade Gift Wrap for a More Thoughtful Holiday
Creating your own wrapping paper is a simple way to make holiday gifts feel more personal and meaningful. Not only is it affordable, but it’s also a fun, creative project that kids and adults can enjoy together.
At the same time, homemade wrapping is an eco-friendly choice, helping to reduce waste and minimize the environmental impact of the holiday season. Showing a little extra care and attention to how we wrap gifts is a simple way to make the act of giving into an even more intentional and meaningful experience.
Reference
Tribelhorn, S. (2023, December 15). Sustainable gift wrapping. San Diego State University. https://library.sdsu.edu/news/2023/sustainable-giftwrapping


One comment on “DIY Stamped Wrapping Paper”