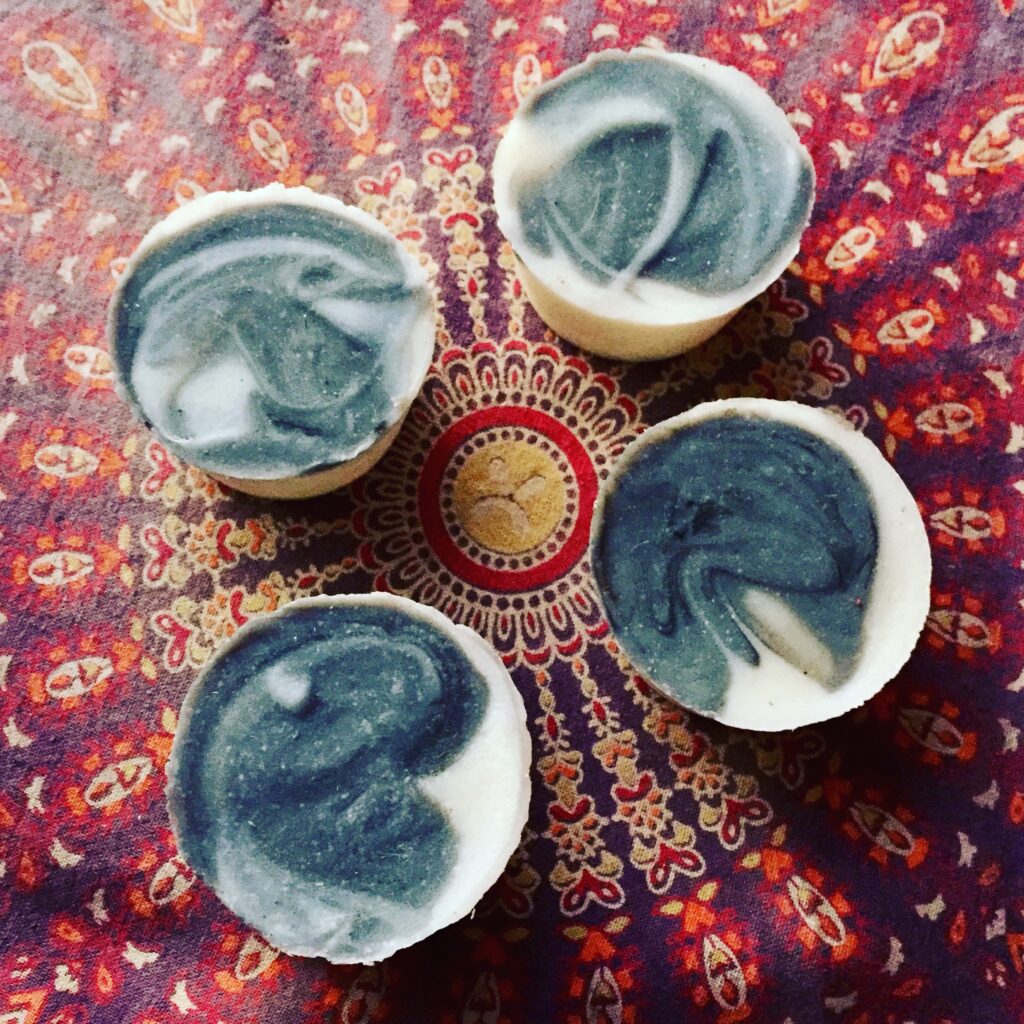
I wanted to try my hand at cold process soap making for quite some time before I actually made the leap. For me, working with lye felt intimidating and the whole process seemed difficult and complicated.
I’ve since found that soaping is actually pretty easy and is really quite enjoyable. Now, it’s hard to believe how long I waited to give it a try! Crafting my own dish soap has been one of my favorite swaps for toxic conventional products to date.

One of the biggest hurdles for me to start soaping was to feel like I was well-equipped to begin the process. In this post, I’ll outline the essentials you’ll need to start making soap.
Lye Calculator
One of the most important tools you’ll use for soap making is called a lye calculator. There are several available for free online. My favorites are Majestic Mountain Sage’s Lye Calculator and SoapCalc. When you’re new to making soap, it’s a good idea to follow recipes from more experienced soapers, but as you get more comfortable soaping, you can use a lye calculator to craft your own soap recipes.
There are many considerations when creating a soap, as the specific ingredients you use will affect the soap’s hardness, how well it lathers, if it’s more cleansing or nourishing, and so on. SoapCalc has a very cool soap bar quality chart to help you get a better idea of how a recipe will turn out. But, most importantly the lye calculator will ensure you have the correct ratio of lye to the specific blend of oils and butters you’re using.
Protective Gear for Cold Process Soap Making
Before making soap, you will need to have the following protective gear on hand:
- Safety goggles
- Protective gloves (i.e. latex, nitrile)
To make cold process soap you need to work with lye. Lye is an alkaline chemical that is quite caustic and can damage surfaces it comes into contact with, including your skin and eyes. It’s important to protect yourself while soap making, in case of spills or splashes while handling the lye and lye solution.
A few quick things to note in regards to handling lye safely:
Lye should never be ingested, as doing so could be quite harmful and even fatal.
It’s important to work in a well-ventilated area when mixing your lye solution, as the fumes produced from the chemical reaction can be harmful to the lungs.
Lye should always be kept well out of reach of pets and children.
Any utensils, pots, or containers used with lye should never be used for cooking or serving food again.
Essential Cold Process Soap Making Equipment
To make soap you will need:
- Digital scale
- Cup
- Heat-proof pitcher
- Plastic, wood, or silicone spoon
- Thermometer
- Pot or heatproof container (not aluminum)
- Small saucepan
- Immersion blender
- Soap molds
- Paper towel or rags
Cold process soap making works because of the chemical reaction called saponification which uses sodium hydroxide (lye) to convert fats and oils into soap. While there is a lot of flexibility in a soap recipe in that you can choose to use a variety of oils + butters, liquids, and add ins, using the correct ratio of lye to oils and butters is essential for the reaction to happen properly.
Measuring ingredients with a digital scale is the most accurate way to get the correct amounts, ensuring that your soap sets correctly & is safe to use (“lye heavy” soaps can be irritating to the skin).
You will also need a cup to measure the lye and a heat-proof pitcher to combine your lye with whatever liquid you’re using. The lye mixture will get very hot (up to 200°F) initially as the lye and liquid react, and could cause glass to shatter. If using a glass pitcher, it’s best to mix your solution in the sink, in case it breaks.
*Note: Any containers you use to store lye or mix lye solutions should be labeled appropriately and kept in a safe place. Be sure to avoid using anything aluminum or with a Teflon (non-stick) coating as these things will react with the lye.
You will need a spoon to stir the mixture and the soap batter. It should be made of wood, silicone, or heat proof plastic.
A thermometer will come in handy to test the temperature of the lye solution and the oils before mixing them together, as there is an preferred temperature range (120-130 degrees Fahrenheit). Many soapers also say that having the oils mixture and the lye solution within 10 degrees of each other is ideal.
You will also need a pot or container for mixing your soap batter. It should be heat-proof and made of stainless steel, heavy duty plastic, or ceramic.
You will want a small saucepan (or pot) for heating your coconut oil and/or butters in, as they will need to be in a liquid state for saponification to happen properly.
An immersion blender is used for bringing your soap to “trace.” This is the point when the oils + butters and lye solution have emulsified and begins the process of your soap starting to thicken and eventually harden.
Soap molds will determine the shape and design of your finished soap bars. There are endless possibilities, including a wide variety of silicon molds in all sorts of shapes. Wooden soap molds (lined with freezer paper) are another popular option among soapers. You can also make your own DIY soap mold using PVC pipe (I haven’t personally tried this).
Finally, you’ll want to have some old rags or paper towels on hand to wipe up any splashes or spills that may happen during the soap making process.

Basic Ingredients for Cold Process Soap Making
As previously mentioned, there are numerous things you can add to soap to enhance the color, scent, beneficial qualities, etc., but here is a breakdown of the basic ingredients you will need to make cold process soap:
- Distilled water or tea, cooled to room temperature
- Lye (sodium hydroxide)
- Oils and butters
- Add ins — clay, oatmeal, coffee grounds, honey, etc.
- Essential oils (if desired)
Every cold process soap you make will have some sort of liquid component. This could be distilled water, herbal tea, coffee, goat milk, etc. You will mix whatever liquid you choose to use with lye to make a lye solution.
The lye solution is then combined with the (liquified) mixture of whatever oils and butters you have chosen to work with. There are many options for oils and butters. They all have slightly different properties and the ratios you use of oils that are liquid at room temperature + solid oils and butters will ultimately affect how hard your finished soap bars are.
There are unlimited options for extra add-ins to further personalize your soaps. Things like oats, salt, clay, coffee grounds, cacao powder, honey, etc. all can be stirred in to your soap batter. You can be very creative here, though when starting out it’s best to limit yourself to one add in or so per batch so you can see how it affects your soap. Some things, like honey, will cause your soap batter to harden quickly, which can make it very difficult to get into the molds before it gets too thick to pour easily.
You can also add essential oils to your soap batter to scent your soaps. My children have sensitive skin so I personally prefer making unscented soaps, but if you’re interested in adding essential oils to your soaps, The Nerdy Farmwife provides some great information about doing so here.
Being properly equipped is the first step to getting started with cold process soap making. For a more in-depth beginner’s guide that will walk you through the actual soap making process, check out my post: Introduction to Cold Process Soap Making.
Reference
“How to Use Lye Safely.” Sciencing.com. April 24, 2017.