Last Updated on June 29, 2025
Kids love to pick up rocks, seeds, leaves, flowers and other cool nature finds while out hiking. But, since most their clothing often lacks real pocket space (especially girl’s clothes!) they quickly begin to try to hand things off to mom and dad to hold for the rest of the hike.
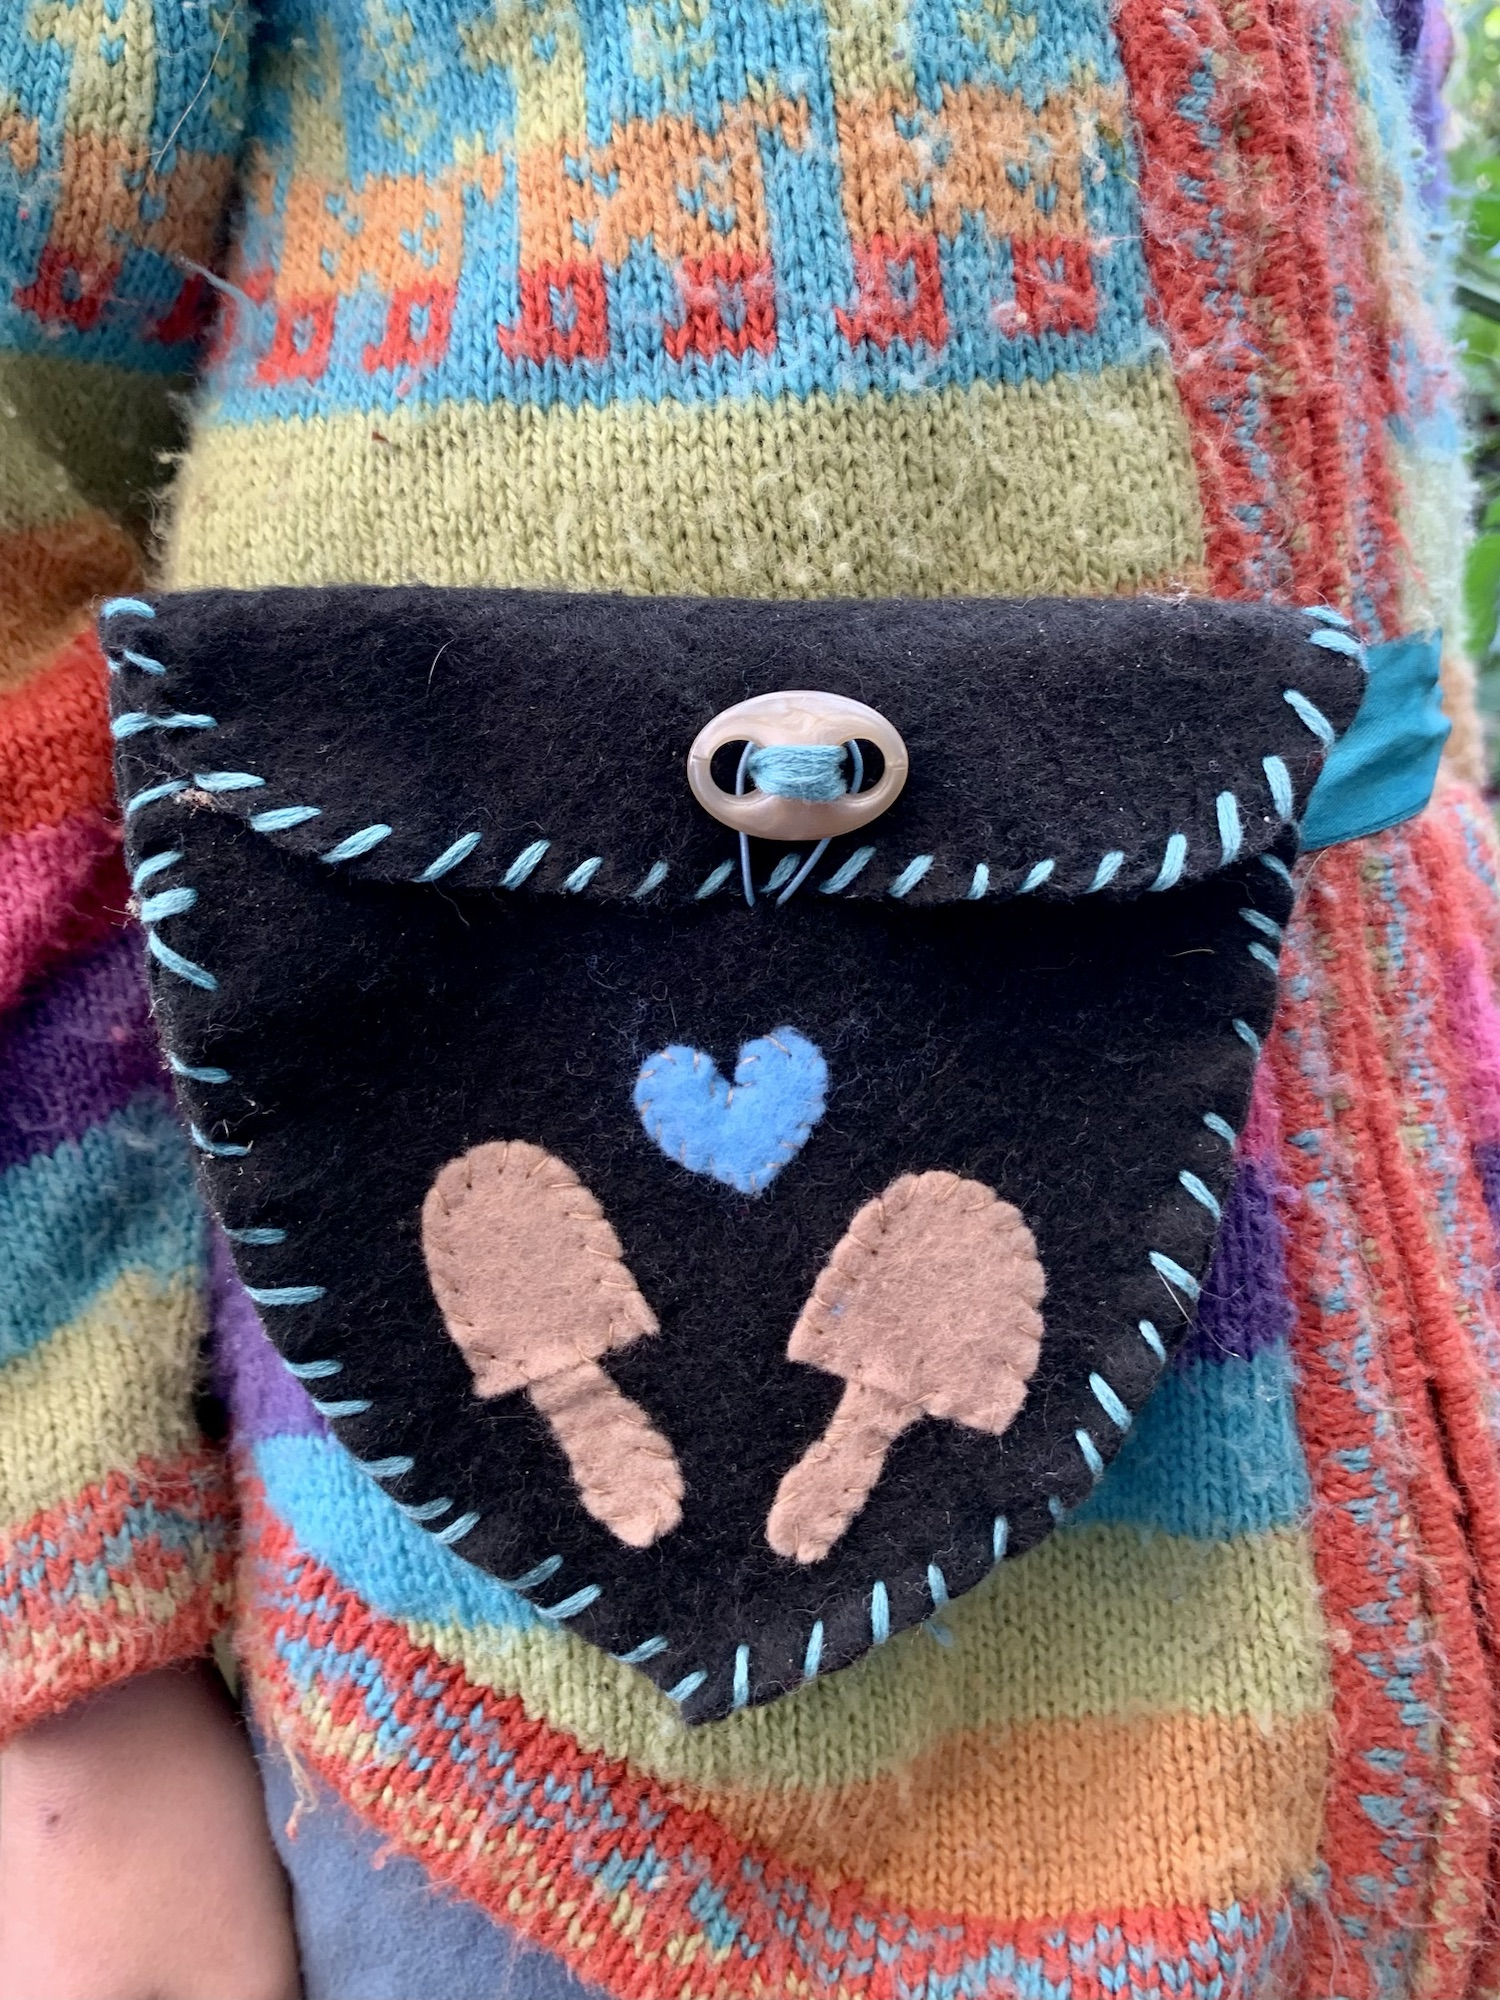
Sew your little forager a pouch of their own so they have a convenient place to stash their treasures along the way. This little felt pouch is simple enough for beginner sewers and older children to put together.
Materials:
- 1 ft (30 cm) x 6 in (17 cm) piece of felt in your color of choice
- Two small pieces of felt for the mushroom & heart details in your colors of choice — scraps from other projects are perfect for this
- Scissors
- Embroidery thread in your color(s) of choice
- Embroidery needle
- Toggle button
- Elastic string
Directions:
Cut the larger piece of felt in half lengthwise so that you have two pieces that are the same size.
Cut one of the pieces into the shape of the foraging pouch. (I always do this freehand, but you can certainly draw it on a piece of paper first and then use it as a pattern.) Then use the first half as a pattern to cut the other piece of felt into the same shape.

Cut a strip about 2 in (5 cm) wide off the top of one of the halves.

Round the corners of the larger piece.

Place the smaller piece of felt on top on the larger piece of felt, lining up the bottom edges. Pin the two pieces together.
Sew around the edges of the pouch.

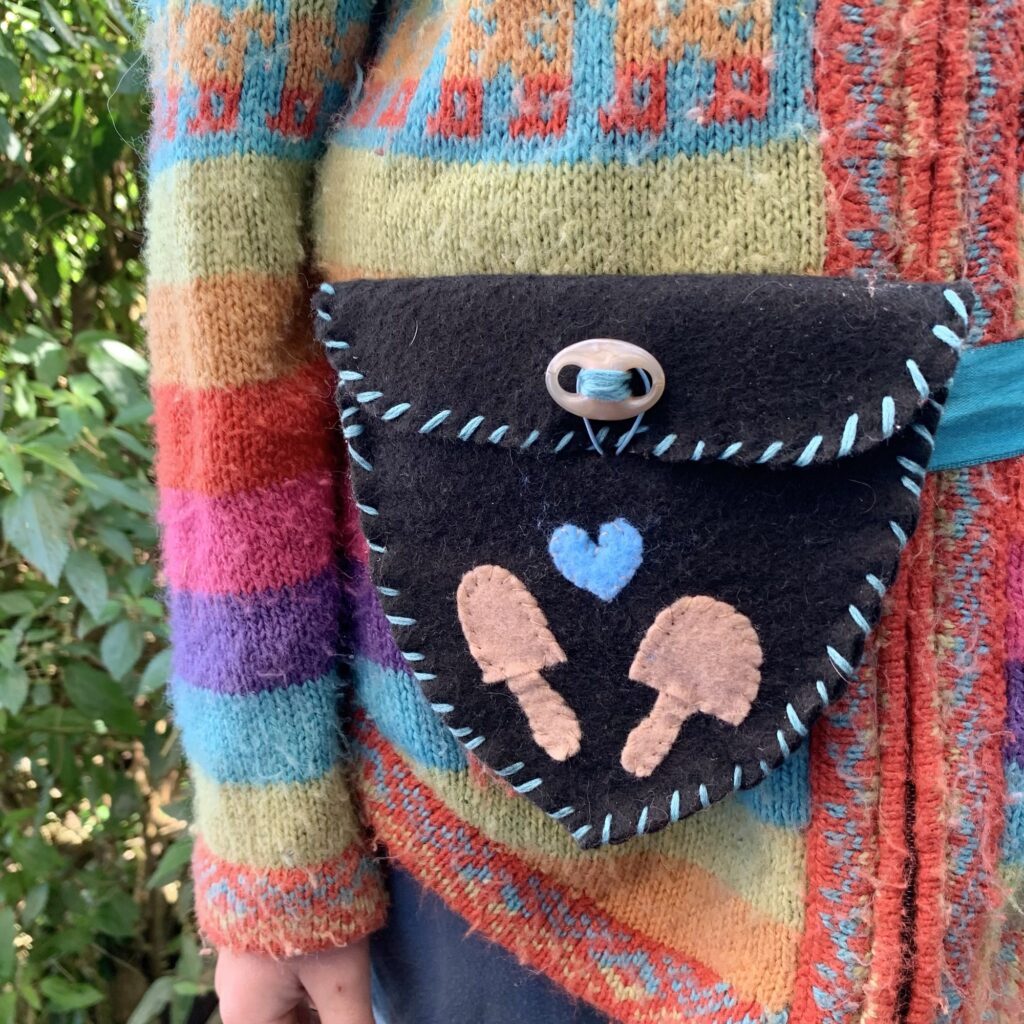
Fold over the top of the pouch and place the toggle button in the middle of the flap. Sew it into place.

Then take the strip of felt that you cut off the top of the 2nd piece of the main pouch and cut it a bit shorter and thinner to make a belt loop. Sew the loop onto the back of the pouch.

Cut out two small mushrooms and a heart from the felt scraps. Place them on the pouch to see where you want them, then when you are happy with the placement, sew them in place.

Using the embroidery needle, poke the two ends of the elastic thread through the felt and knot them together in the back. This forms a loop that can be hooked over the toggle button to close the pouch.
The foraging pouch is now ready to fill with treasures! Feed your little one’s belt through the loop in the back to attach it to their waist for hands-free foraging. If your little one doesn’t have a belt, you can always cut a length of wide ribbon or rope to fit your child’s waist instead.


2 Comments on “DIY Kids Foraging Pouch”